
01
Connect before power
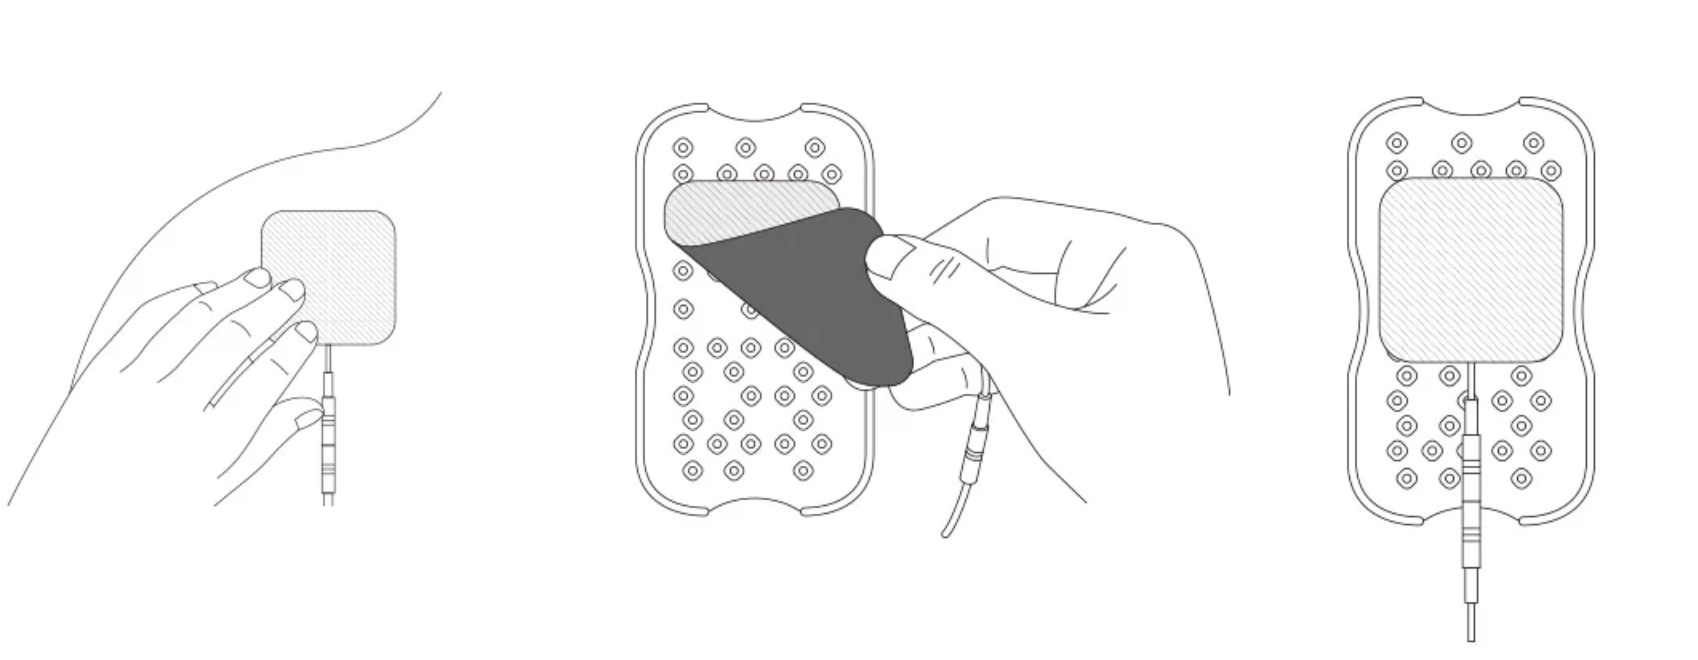
Prepare the unit and electrode pads
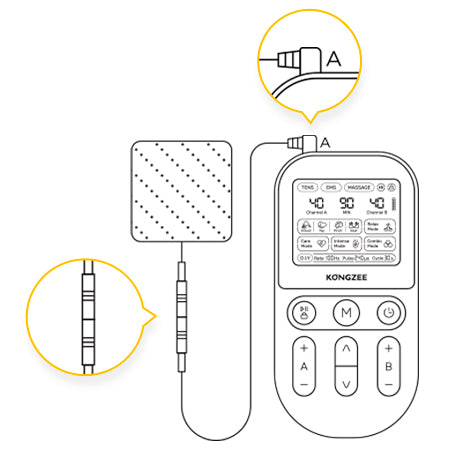
Complete every connection while the controller is switched off. This helps you check each plug and pad before intensity is applied.
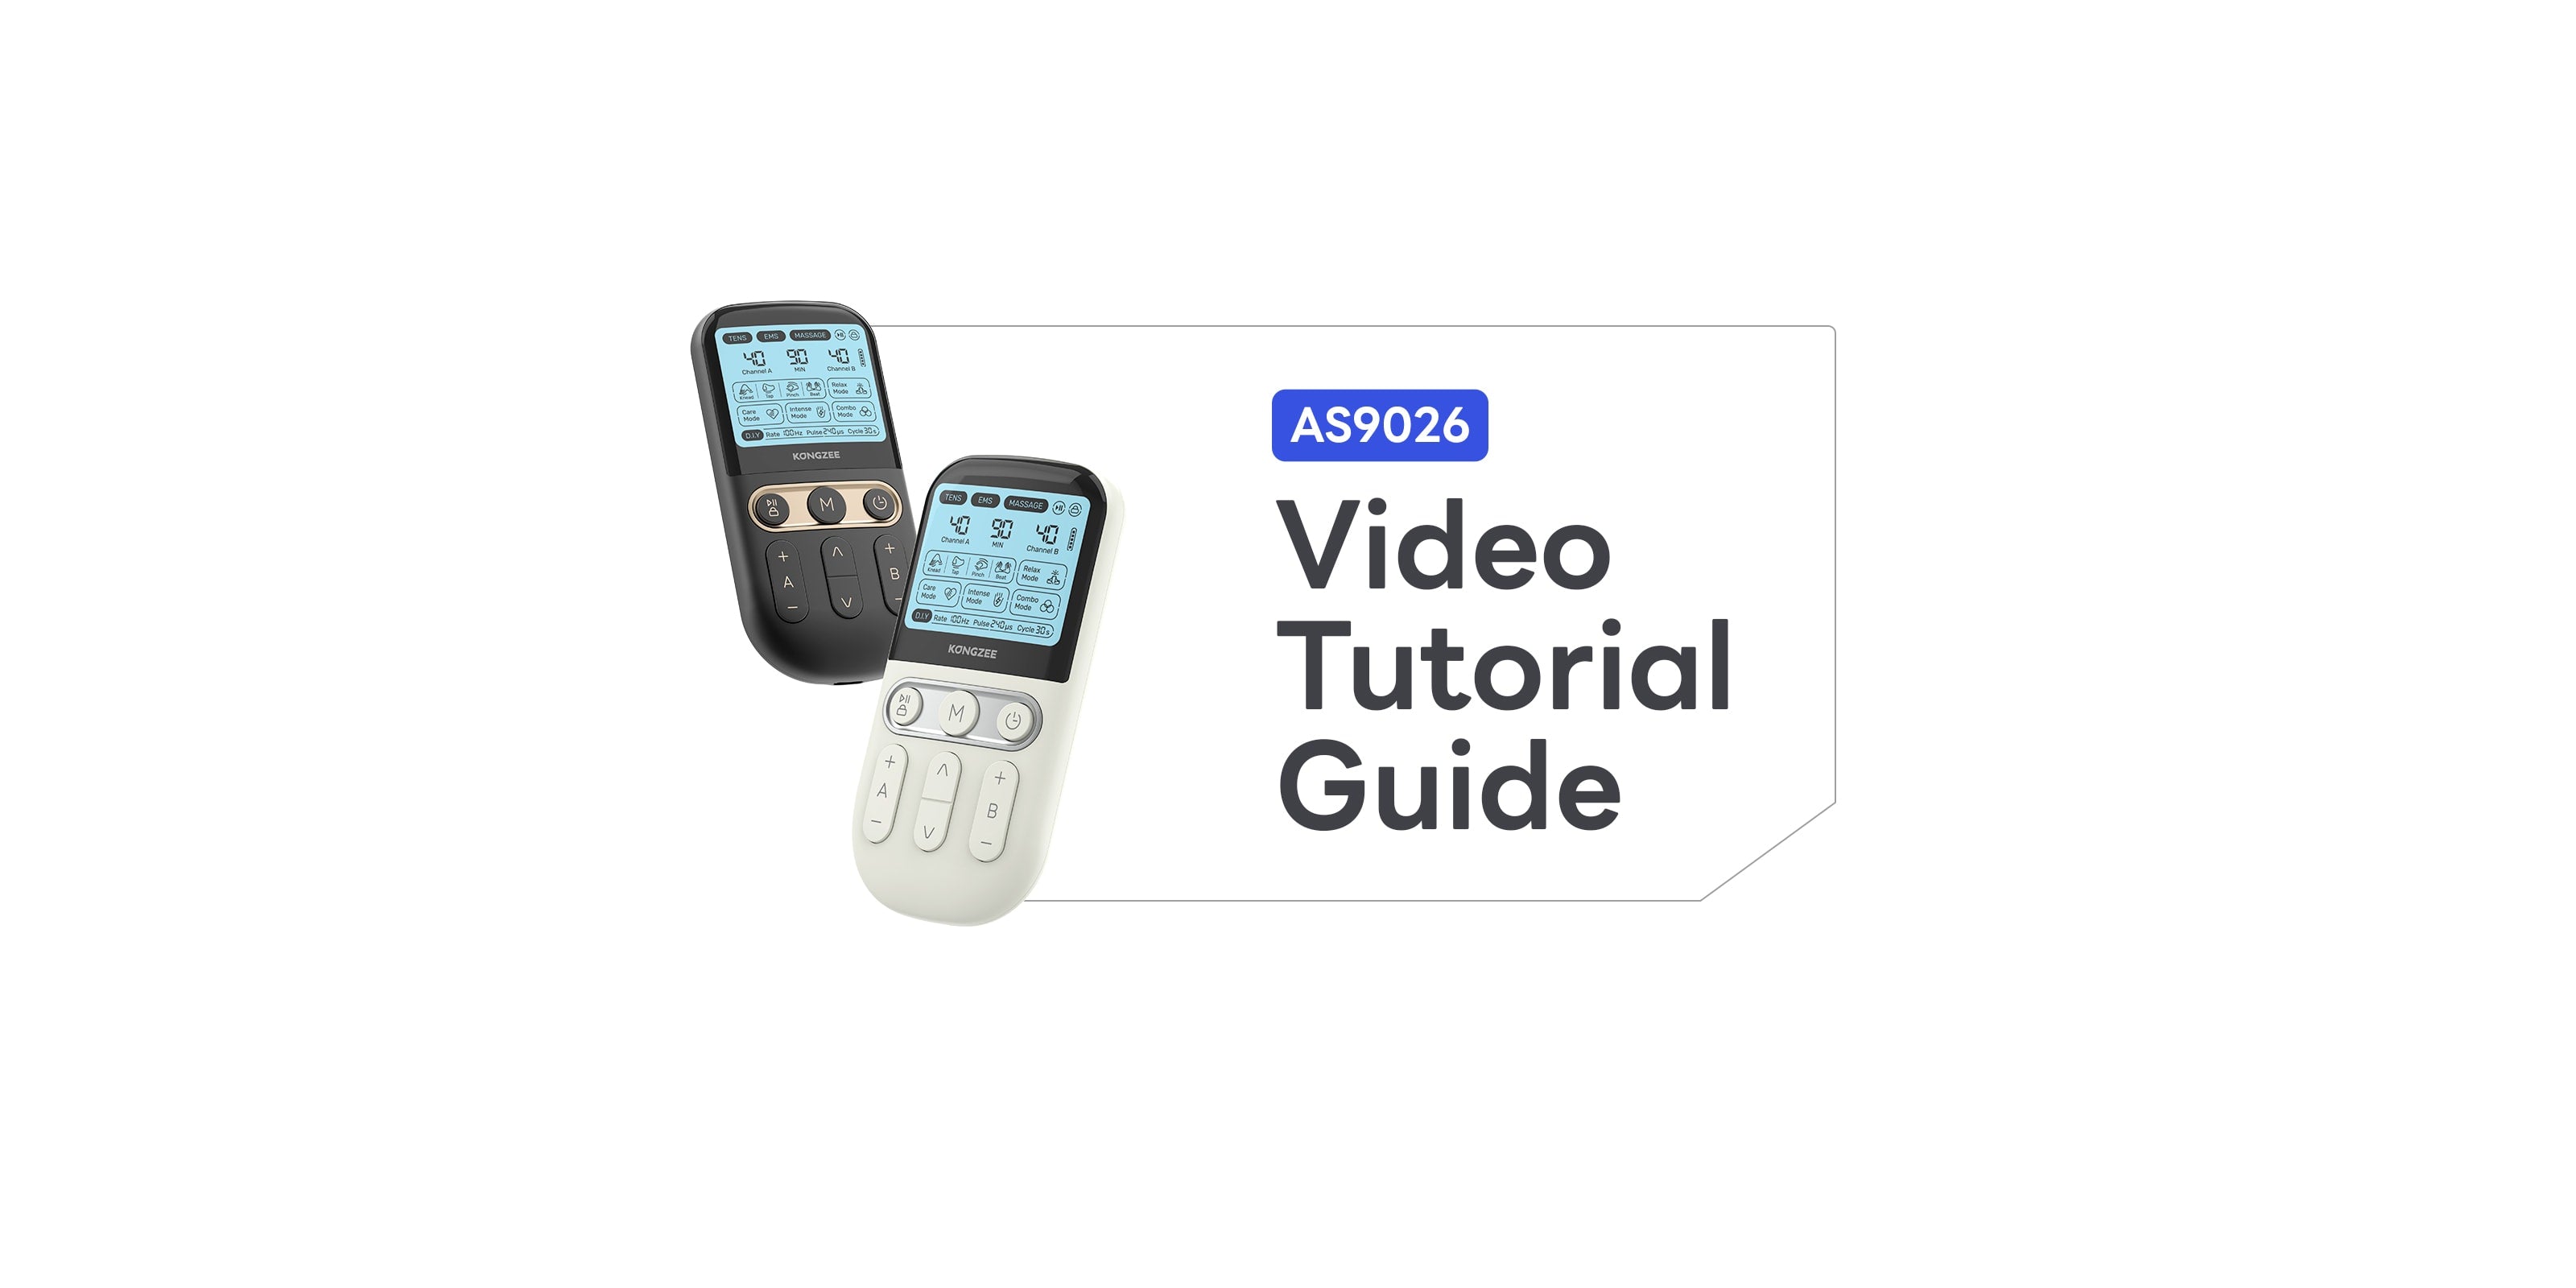
Access comprehensive electronic user guides tailored to your region. Find detailed product information, usage instructions, and helpful tips to maximize your product experience. Simply select your language and download the guide. Last Updated: January 23, 2026
https://drive.google.com/file/d/1wkiC5oJy4RtDg6MvEmqhq2XWzLMY3g0V/view?usp=sharing
https://drive.google.com/file/d/1lF3-wIa4SPS-UvDqTcI9TKagKETHsNOn/view?usp=sharing
https://drive.google.com/file/d/1gFFbh8_KH77uYX5BGYfK_Jrd4TPdrWet/view?usp=sharing
https://drive.google.com/file/d/1SGo9kblkhicFWPA_5rPQUS39s8krWOsC/view?usp=sharing
https://drive.google.com/file/d/1XB_KGmuREGyHz2g6wOilJZSDEvAoYvea/view?usp=sharing
Visual product guide
Follow the device illustrations in order. The supporting text stays separate from the images, so every step remains readable on desktop and mobile.
Connect before power
Complete every connection while the controller is switched off. This helps you check each plug and pad before intensity is applied.
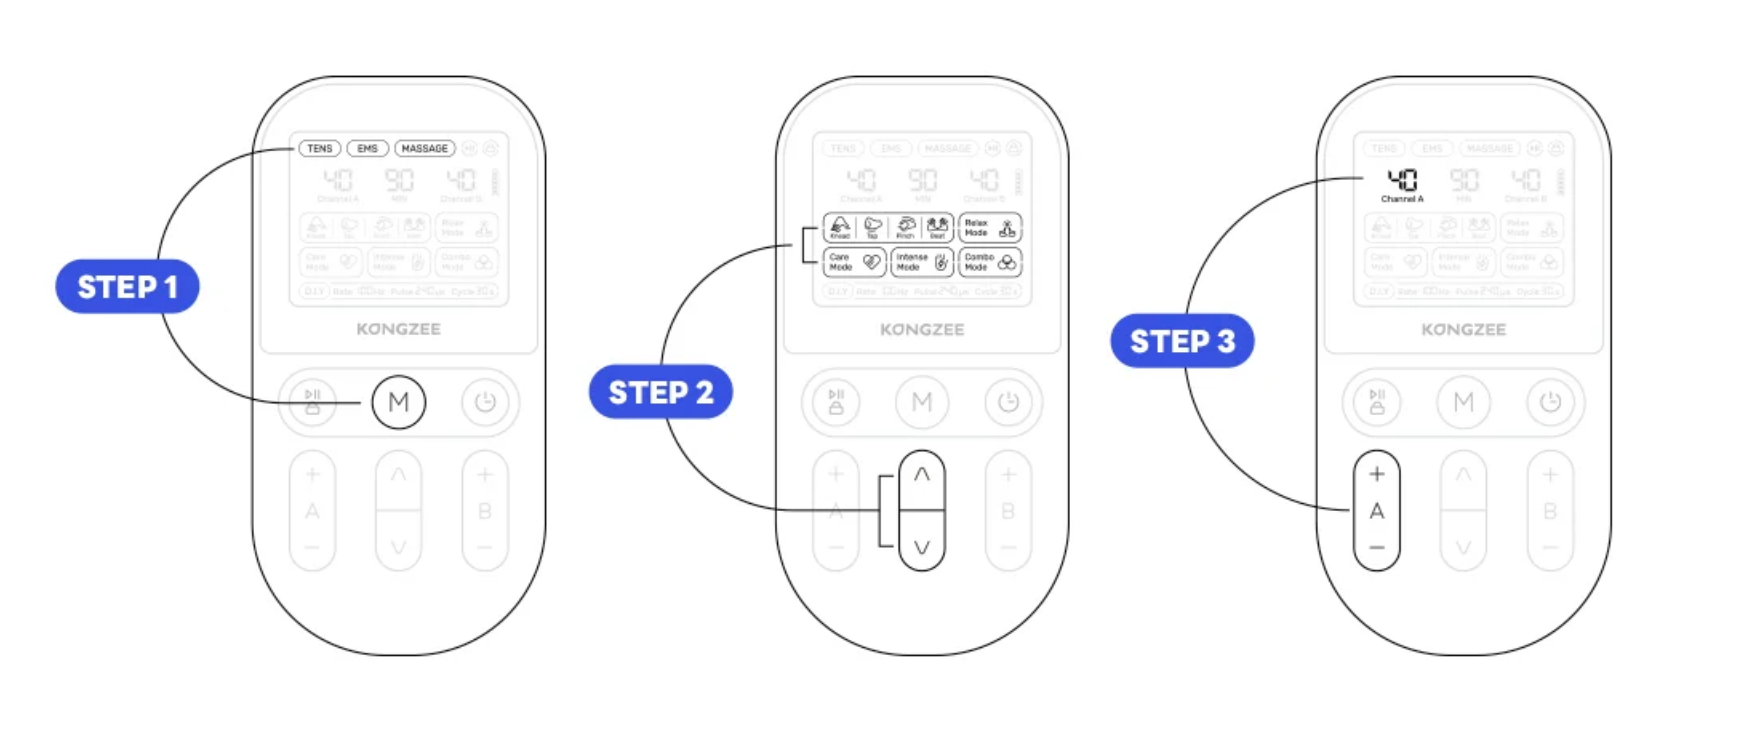
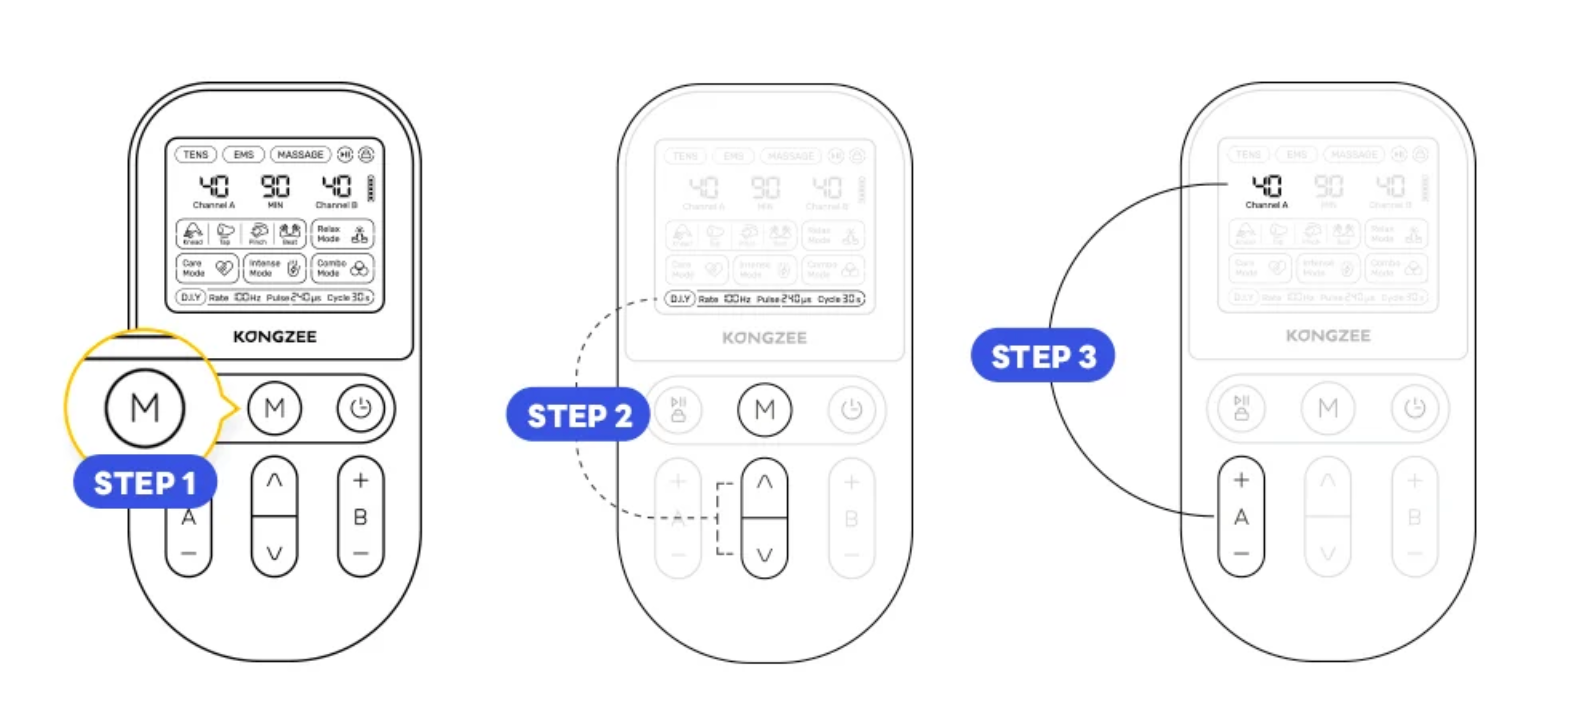
Choose then adjust
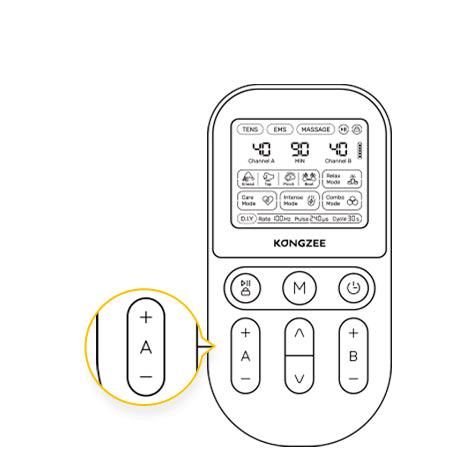
Use the mode button first, move through the available settings, then adjust channel A and channel B separately from their lowest level.
TENS usually feels like steady tingling. EMS is intended to create controlled muscle contractions under appropriate guidance.
Swipe to view the next illustrated guide
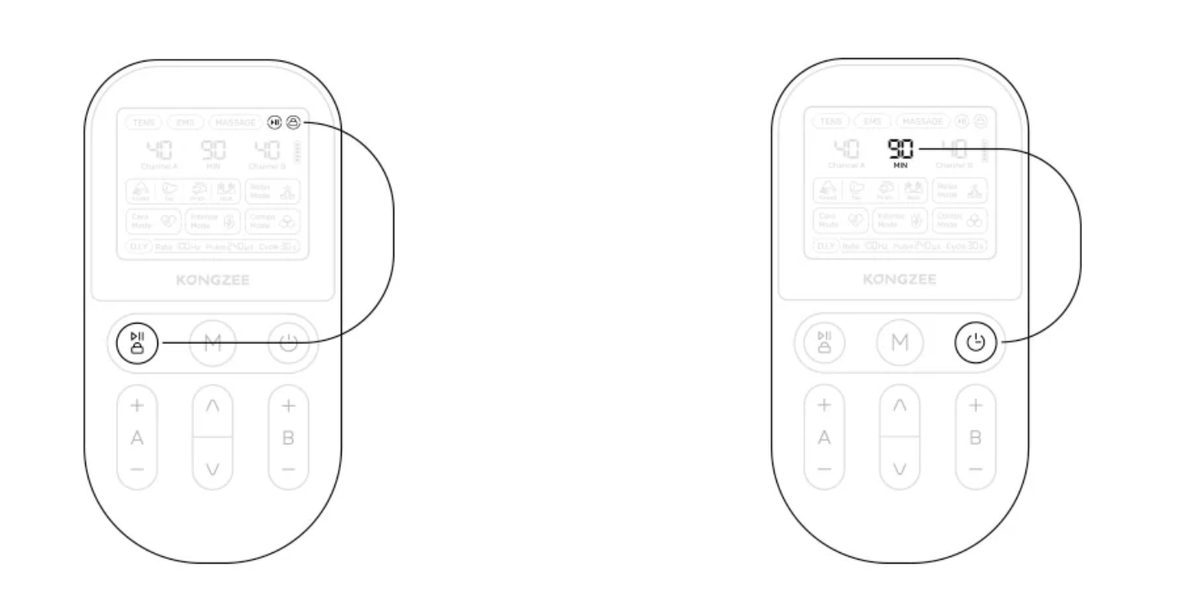
Finish with care
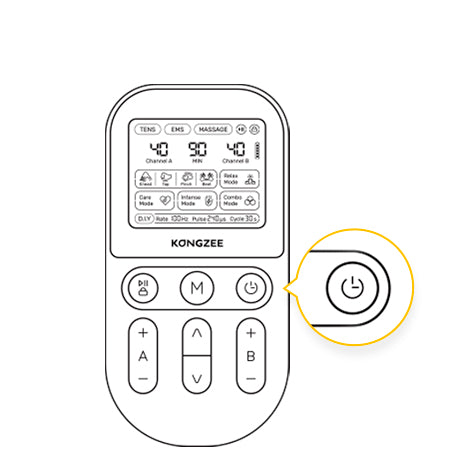
Use the controller features to avoid accidental changes. When the session ends, switch the unit off before touching the pads or wires.
Swipe to view the next illustrated guide
KONGZEE product support
Use this guide to set up, use and care for your KONGZEE portable TENS unit, electrode pads and lead wires. Start with the manual supplied with your device and ask a healthcare professional for individual advice when needed.
Select your language in the Global User Guides section above. The manual covers device controls, mode settings, charging, pad connections and safety warnings.
Use the latest guide for your product model.Start here
Charge the unit before first use.
With the unit switched off, connect the lead wires to the device and electrode pads.
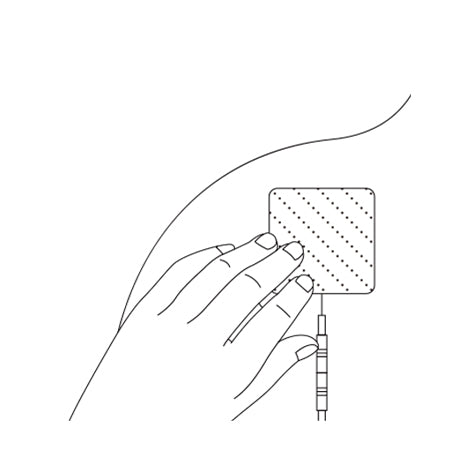
Place pads on clean, dry and intact skin near the area being treated. Keep the pads separated.
Select TENS mode for sensory nerve stimulation or EMS mode for controlled muscle contractions.
Begin at the lowest intensity. Increase it slowly until the sensation is strong but comfortable, never painful.
Switch the unit off before moving or removing the pads.
Choose the right mode
TENS usually produces tingling without a visible muscle contraction. It is commonly used as part of a pain-management plan.
EMS produces visible muscle contractions. It is used for muscle activation or recovery under appropriate guidance.
Independent controls
Channels A and B have independent intensity controls. Connect one lead wire to each channel and adjust each side separately.
Do not position electrodes so electrical current passes across your chest.
Keep stimulation consistent
If stimulation cuts in and out, switch the device off and inspect both ends of the wire. Confirm that it is fully inserted and the pad has even skin contact. Replace a wire that is kinked, cracked or producing intermittent output.
Shop KONGZEE two pack lead wiresCommon problems
Stop use and remove the pads. Do not reapply them to irritated skin. If irritation continues, ask a healthcare professional for advice.
Before every session
Do not use on the front or sides of the neck, head, mouth, eyes, genitals, broken skin or numb skin.
Do not place pads on the chest and upper back at the same time or otherwise direct current across the chest.
Do not use while sleeping, bathing, driving or operating machinery.
Ask a healthcare professional before use if you are pregnant or have a pacemaker, implanted electronic device, epilepsy, heart disease, cancer, circulation problems or reduced sensation.
This information is educational and does not replace medical advice, diagnosis or treatment.
Still need help
If the manual and troubleshooting steps do not solve the issue, send us your order number, product model and a short description of the problem.
Contact support